
Despite my lengthy protestations, Microsoft has fully integrated pictures with words in their Word word processor. In fact, dealing with pictures in a document is pretty easy — providing that you know a few tricks.
Before getting into it, I’ll assume that your desire is to stick an existing image into your document. That image is a photo or other artwork already created and stored in a file somewhere on the computer’s storage system. You don’t want to create an image or use Microsoft’s online clip art library.
Fetching the Image
To insert the image into a Word document, obey these steps:
- Position the cursor where you want the image to sit. It can be an exact or approximate location.
- Click the Insert tab.
- Click the Pictures button.
- Use the Insert Picture dialog box to browse for the image.
- Click to select the image file, then click the Insert button.
The image is plopped into your document, similar to what’s shown in Figure 1.
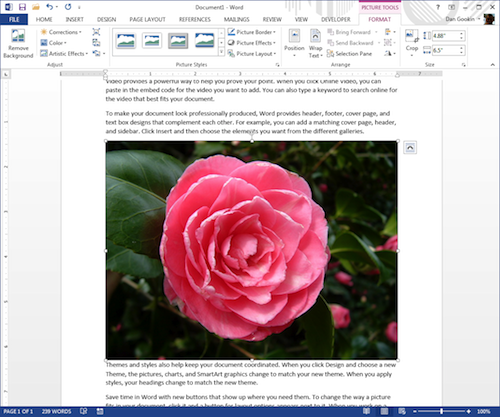
Figure 1. The image landed in a rather pleasant manner, but don’t let that fool you: Not every image is inserted as neatly.
The image is placed at the cursor’s location, just as if it were a character in the text. The effect is that your document may look all ugly and gross. So the next steps are to properly size and position the image.
Sizing the Image
Word has no clue as to how large you want an image to be, so it just guesses. Before repositioning the image, I recommend that you properly size it.
Look around the image’s edges for the eight handles, one on each corner and one on each edge. To re-size the image, drag those handles in or out by using the mouse. In Figure 2, I’m using the upper right corner handle to resize the image smaller. When you drag a corner handle, you resize in two directions at once, keeping the image’s aspect ratio the same.
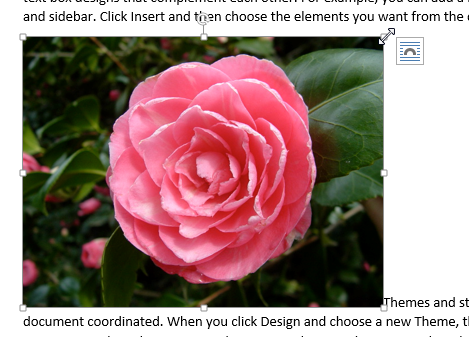
Figure 2. Resize an image by dragging one of its eight handles.
Don’t worry if the image still isn’t positioned properly. You fix that next.
You can also rotate the image, if you need to: Drag the rotation gizmo found atop the image, as shown in Figure 3.
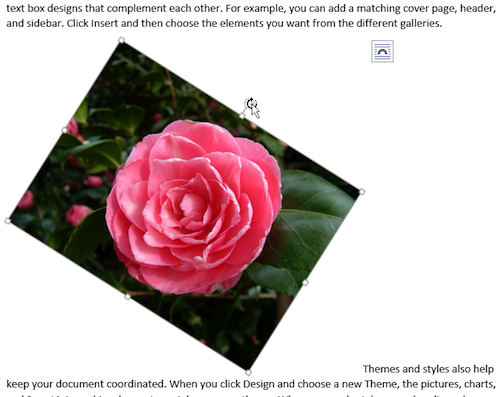
Figure 3. Rotating an image.
When you rotate, you don’t crop the image; it stays within a rectangle, as shown in the figure.
Positioning the Image
Once the image is the proper size, drag it to the proper location in the document.
Remember that Word treats all incoming images as if they’re big characters. The official term for this layout option is In Line with Text. In fact, the icon you see top right of the picture (Figures 1, 2, and 3), represents that layout option. That icon is known as the Layout Options button.
You can choose another layout option, which may better help you position the image. To do so, click the Layout Options button to review your choices, as shown in Figure 4.
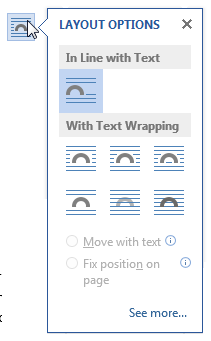
Figure 4. The Layout Options palette shows your choices for how the image appears on a page of text.
I’ll review the choices on the Layout Options palette in Wednesday’s blog post.
