
I recently retired my original Samsung Galaxy Tab 10.1. It’s off to be repurposed via the Verizon Trade-in Program. Replacing it is a new Galaxy Note 10.1, but it doesn’t exactly fit into the original Tab’s docking station. That’s a problem for the Wambooli Space & Time Laboratories to solve!
The original Galaxy Tab’s docking stand probably cost me well over $50. That’s the way things go with Android accessories. I feel ripped off when I buy them. So I wasn’t going to throw the thing out with the old Tab, especially because the connector still works on the Galaxy Note 10.1. That tablet didn’t quite fit, however, as shown in Figure 1.
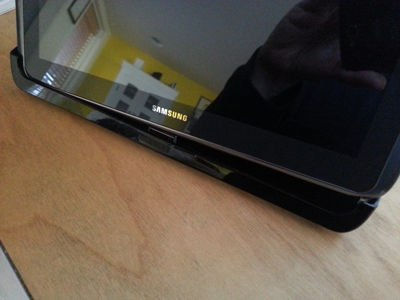
Figure 1. Try as I might, I could not make the Galaxy Note 10.1 fit into the original Galaxy Tab’s docking stand.
Rather than return to the Verizon store and pay the $70 they wanted for the keyboard dock (and I don’t like using those tiny keyboards), I decided to use my trusty Dremel tool and hack off the ends that blocked the Note 10.1 from being successfully shoved into the Tab 10.1’s docking stand.

Figure 2. I used a Dremel and its cutting tool to slice off the curved ends of the docking stand.
In Figure 2, you see my trusty Dremel with the cutting tool attached. The blade spins so fast that it’s more of a melting operation than cutting. And, yes, I wore safety goggles, shown in Figure 3.
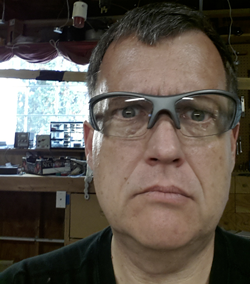
Figure 3. Of course, always remember to wear safety goggles!
The ends came off quite easily, as shown in Figure 4. I didn’t measure the sides to see whether they were even. I suppose if I were truly a craftsman and not someone willing to save $60 on a new docking stand, I would have measured everything. I probably also would have drawn exact lines to cut instead of just eyeballing it.
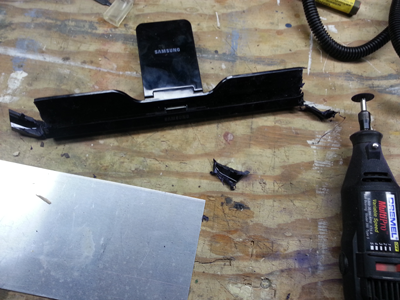
Figure 4. The ends of the dock have been excoriated.
After whirling off the ends, I decided to clean up the burrs and little melted pieces of plastic. The buffing tool attachment, shown in Figure 5, did the trick. Not sure if that was the best tool, but it worked and cleaned things up nicely.
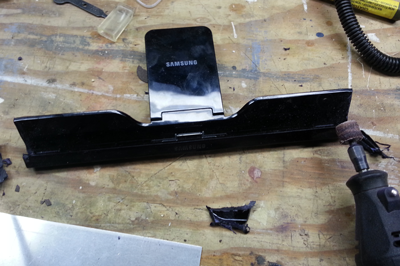
Figure 5. The buffing tool grinds away burrs and gnarls, smoothing out the ends.
I ran a test-fit with the Galaxy Note 10.1 It worked, but the connection wasn’t solid. The battery-charging tone kept flitting off and on.
Upon close inspection, I found two tiny strips of plastic inside the docking stand. I used the cutting tool to grind them away, hoping that the tablet would seat better.
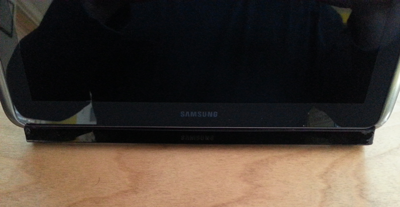
Figure 6. Success! The Galaxy Note 10.1 is mounted into the docking stand.
Figure 6 shows the final result: The Galaxy Note fit securely, snuggly, and successfully inside the old Tab 10.1 docking stand. I just saved $70!
The docking stand should now last me for whatever 10-inch tablets I get — or even larger sizes. As long as Samsung continues to use the same type of docking connector, I’m good!

You mention to quote “if I were truly a craftsman and not someone willing to save $60 on a new docking stand, I would have measured everything. I probably also would have drawn exact lines to cut instead of just eyeballing it.” I suppose as a professional Engineer I should say a scary ammount of stuff is done by “eyeballing it” anyway “Man Points” awarded the envoirmental lobby pacified (re-duce & re-use) etc. thumbs up!
Comment by glennp — November 9, 2013 @ 8:41 am
Thank you, glennp!
Comment by admin — November 9, 2013 @ 9:44 am