
Microsoft Word is a word processor, yet it freely allows you to commit the sacrilege of placing an image into your text. As long as you’re going to sin, consider adding a caption to that image, which isn’t the most obviously task to accomplish.
In Figure 1, you see an image I slapped down into a document. The image is formatted so that text flows around the image, which is a pretty fancy trick, but one that’s not too difficult to pull off.
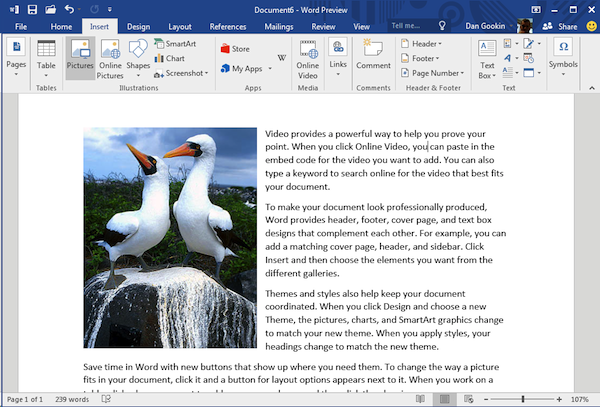
Figure 1. An image is set into a document. The Square layout option is chosen.
To insert the picture, click the Insert tab, then choose Pictures. Browse for an image to stick into your document. Details are offered in my book, Word For Dummies.
To change the image’s layout, click the image so that the Layout Options button is visible. Click that button and choose a With Text Wrapping option, such as the Square option used for the image in Figure 1. (Also see my blog post on image layout options in Word.)
After the picture is in the document, adding a caption works like this:
- Click to select the image you want to caption, such as the picture of the boobies in Figure 1.
- Click the References tab. This is the weird step you probably didn’t anticipate.
- Click the Insert Caption button.
The Caption dialog box appears, illustrated in Figure 2.
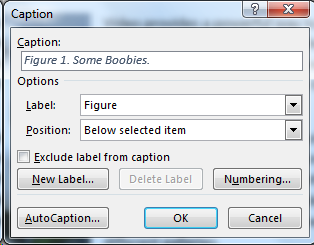
Figure 2. Filling-in the Caption dialog box.
In Word, captions are a reference item. It’s possible to build a table of captions for your document, which explains why the Insert Caption button dwells on the References tab, not the Insert tab.
- Type the caption text into the Caption field. No, you cannot alter the text Figure 1 in the text box.
- Choose the caption’s position from the Position menu. I prefer the setting Below Selected Item, which is what’s shown in Figure 2.
- If you prefer to just have the figure number listed and not the text Figure 1, place a checkmark by the item Exclude Label From Caption. Or you can click the New Label button to set your own label, but the figure’s sequential number (in the document) is always specified by Word.
- Click the OK button to insert the caption.
The caption appears below the selected image. To edit the caption’s text or change its formatting, click the text inside the box and apply the changes.
One final thing I recommend doing is to group both the picture and its caption. Continue with these steps:
- Click to select the picture.
- Press the Shift key and click to select the picture’s caption.
- Click the Picture Tools Format (or Drawing Tools Format) tab.
- In the Arrange group, click the Group button and choose the Group command.
The location of the Group button is illustrated in Figure 3.
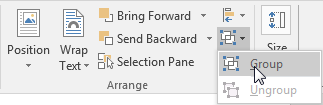
Figure 3. Finding the Group command.
The final result is a picture and caption, as shown in Figure 4.

Figure 4. The final result.
With both the picture and its caption grouped, you can now move them around as a unit within the document, change the layout, or do other things while both items are glued together. Also, if you want to stick a table of captions into your document, you can do so by using the References tab Captions group.
